CS Management Node Deployment
Installation
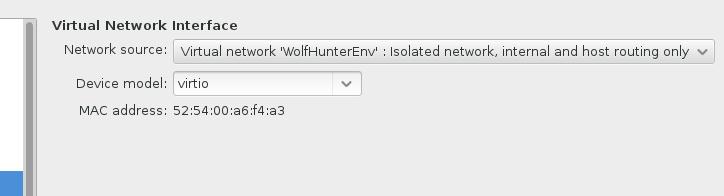
Create the vm, customize its networking, and mark down its mac address:
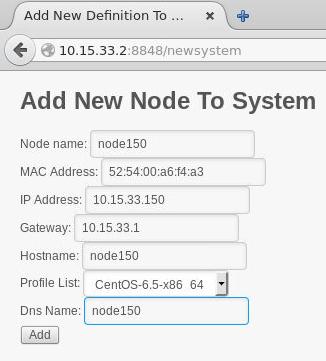
Open a browser and point fill in the infos:
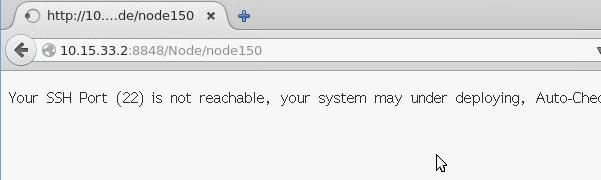
Press Add button, the webpage will enter waiting status.
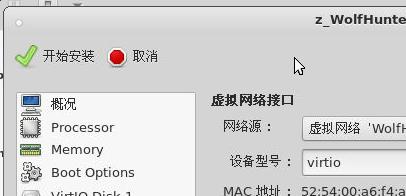
And press the start installation button on virt-manager, begin to install:
After deployment, you will see the webpage turns into:
Verify the installed node
No-password login, and verify its ip address and hostname;
# ssh root@10.15.33.150
Are you sure you want to continue connecting (yes/no)? yes
Warning: Permanently added '10.15.33.150' (RSA) to the list of known hosts.
[root@node150 ~]# hostname
node150
[root@node150 ~]# ifconfig eth0
eth0      Link encap:Ethernet  HWaddr 52:54:00:A6:F4:A3
          inet addr:10.15.33.150  Bcast:10.15.33.255  Mask:255.255.255.0
....
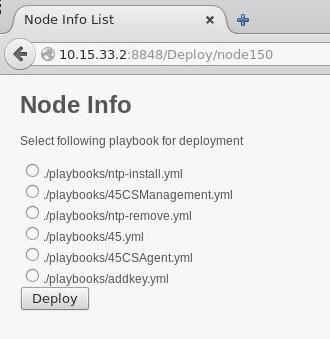
Playbooks
Choose whichever playbook you want to deploy on this node, click the button and wait.
Your webpage turns into:
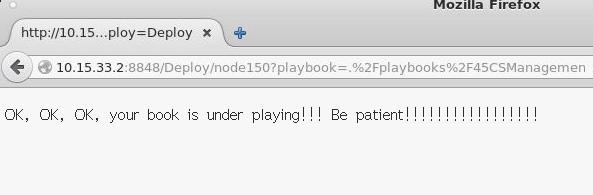
And the server output is like:
After finish, you will see the page turns into:
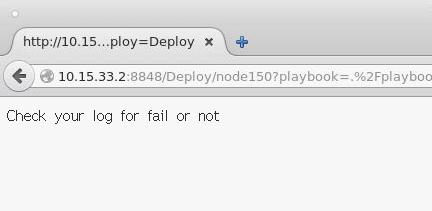
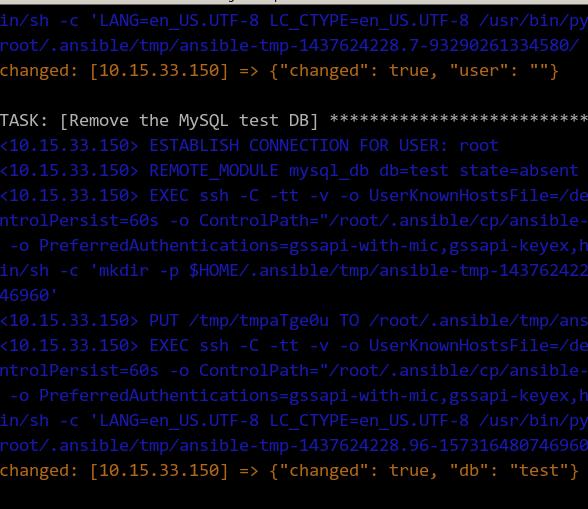
And the Server output turns: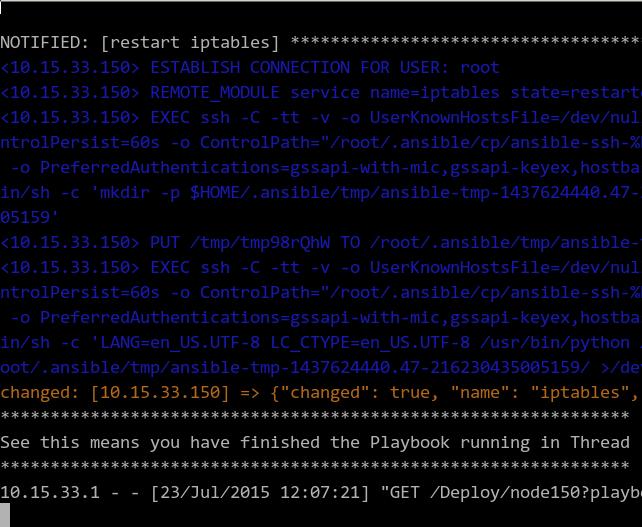
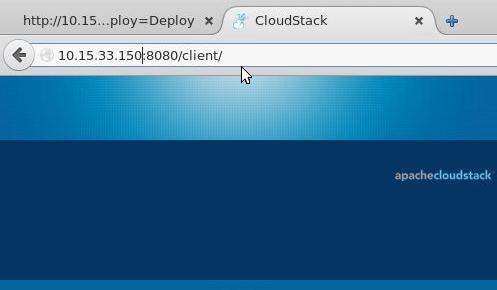
Verify the installation:
End Of The Section
In this section we deployed CloudStack Management Node, together with next section's CloudStack Agent Node we could set up the whole CloudStack environment.