注册已有系统
准备
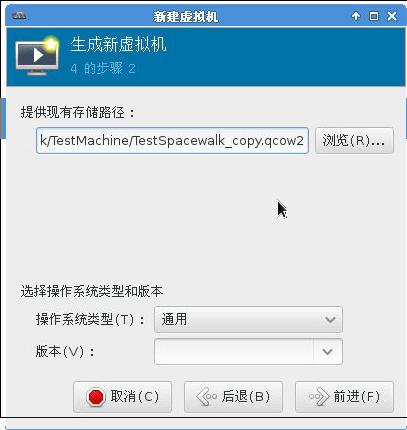
关闭上一章我们已经部署好的系统,复制其硬盘文件:
# cp TestSpacewalk.qcow2 TestSpacewalk_copy.qcow2
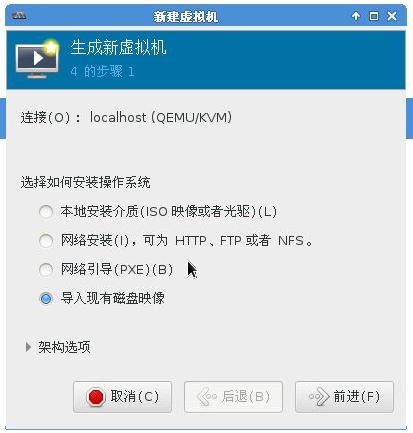
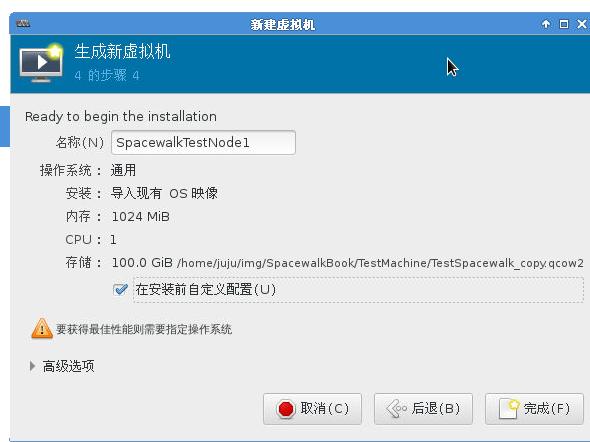
创建虚拟机,加入到同一网络。
启动后,我们对虚拟机做一点点修改:
更改IP地址, 注意下面带+号的条目:
# vim /etc/sysconfig/network-scripts/ifcfg-eth0
    # 52:54:00:94:76:ec
    # Generated by dracut initrd
    NAME="eth0"
    + HWADDR=52:54:00:94:76:EC
    ONBOOT=yes
    NETBOOT=yes
    IPV6INIT=yes
    + BOOTPROTO=static
    + IPADDR=10.17.20.201
    + GATEWAY=10.17.20.1
    + TYPE=Ethernet
    + DNS1=10.17.20.2
更改hostname:
[root@Agent1 ~]# cat /etc/hostname
Agent1
[root@Agent1 ~]# cat /etc/hosts
10.17.20.201      Agent1
127.0.0.1       localhost
::1     localhost ip6-localhost ip6-loopback
fe00::0 ip6-localnet
ff00::0 ip6-mcastprefix
ff02::1 ip6-allnodes
ff02::2 ip6-allrouters
验证更改:
[root@Agent1 ~]# hostname
Agent1
[root@Agent1 ~]# hostname --fqdn
Agent1
[root@Agent1 ~]# ping spacewalkrootnode -c1
PING spacewalkrootnode (10.17.20.2) 56(84) bytes of data.
64 bytes from 10.17.20.2: icmp_seq=1 ttl=64 time=0.277 ms
注册
在 http://yum.spacewalkproject.org/2.3-client/RHEL/7/x86_64/ 找到对应的spacewalk-client-repo包, 按下列命令安装:
# rpm -Uvh \
http://yum.spacewalkproject.org/2.3-client/RHEL/7/x86_64/spacewalk-client-repo-2.3-2.el7.noarch.rpm
# BASEARCH=$(uname -i)
# rpm -Uvh http://dl.fedoraproject.org/pub/epel/epel-release-latest-7.noarch.rpm
安装客户端所需的包:
# yum install -y rhn-client-tools rhn-check rhn-setup rhnsd m2crypto yum-rhn-plugin
Bug-Fix:
# vim /usr/lib/python2.7/site-packages/rhn/connections.py
- def idn_pune_to_unicode(hostname):
+ def idn_puny_to_unicode(hostname):

- def idn_ascii_to_pune(hostname):
+ def idn_ascii_to_puny(hostname):
安装Spacewalk服务器上的CA签名,使得客户端可以用SSL与服务器联系。
# rpm -Uvh http://spacewalkrootnode/pub/rhn-org-trusted-ssl-cert-1.0-1.noarch.rpm
注册系统到Spacewalk服务器:
# rhnreg_ks --serverUrl=https://spacewalkrootnode/XMLRPC \
--sslCACert=/usr/share/rhn/RHN-ORG-TRUSTED-SSL-CERT \
--activationkey=1-centos7-x86_64  --force
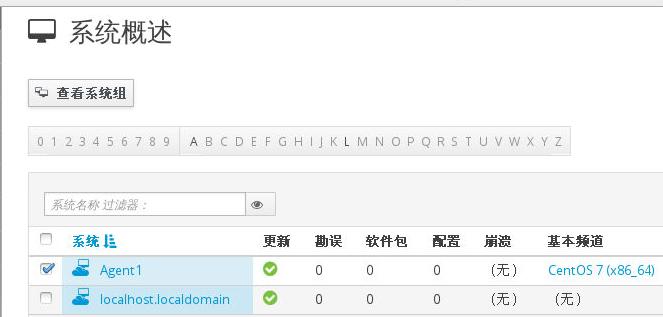
注册完毕后,在Spacewalk的Web管理界面中可以看到新增加的Agent1系统.